X Minecraft Launcher - the only launcher you need
X Minecraft Launcher : An Open Source Minecraft Launcher with Modern UX. Multi-instancing in a disk efficient way.
I think we’ve all been frustrated because of a new problem with the official Minecraft launcher: crashes, logging in is not working…
There are so many bugs that an entire article is dedicated for that on the Minecraft help center.
Looking for better solutions, I found the launcher MultiMC which I used for quite a while until I found PolyMC (which is a fork of MultiMC), then migrated to Prism Launcher because PolyMC got compromised.
Prism Launcher works perfectly and has more or less everything you’d expect from a launcher. But there is one thing that bothered me: it was the user interface. I never really liked the design of Prism or MultiMC. And putting a custom theme didn’t help either.
And that’s when one day I discover the X Minecraft Launcher (or XMCL) :
- Open Source
- Support for Windows 10/11, MacOS, Linux
- Modern UI
- Multi-instances
- Resource sharing between instances (and therefore you no longer need to copy the same resources in each instance like it was the case on Prism)
…and lots of other features, including partial support for free/cracked accounts, which I assume will be of interest to a lot of people.
There also is a feature to play multiplayer with a friend even if they are not connected to the same WiFi, which is rather unique as a feature (I only know FeatherMC which has something similar).
Well, the intro is starting to get long, here’s the tutorial you are waiting for 😆
warning
This tutorial was made for Windows 10 or 11 users.
Download the
.appinstalleror.appx(it doesn’t really matter) from the website, or the.zipfor a portable versionDouble-click/open the downloaded file, and install.
An interface will then open, to define 3 parameters before starting the app. Choose the language of your choice. Then put the application root folder, in which all resources will be stored (mods, resource packs, etc). Finally, the app offers to import your existing resources, by default from the
.minecraftfolder in%appdata%.
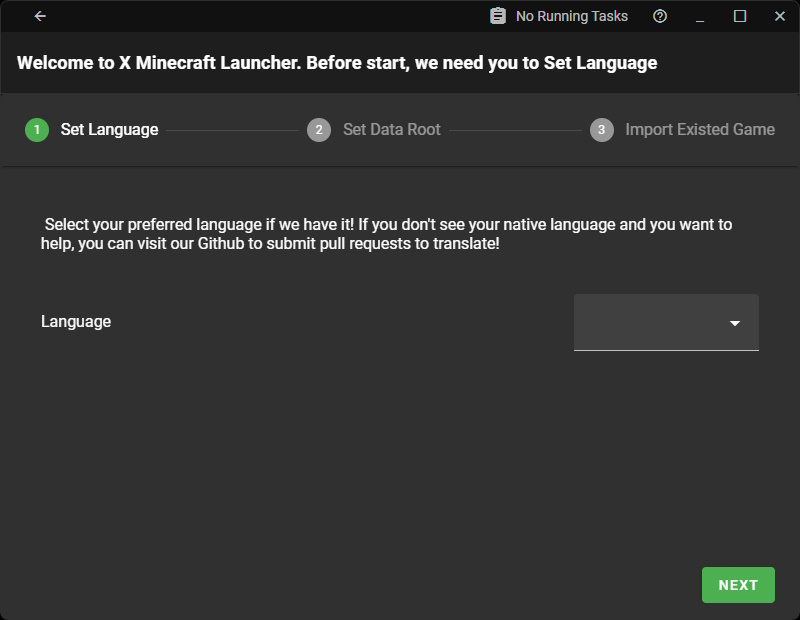
Choose your language
Now, you have to log in to your Minecraft account.
Click on the account button at the top left corner then add an account. For a premium account, simply connect to Microsoft (I assume you have already migrated, as Mojang accounts are unsupported).
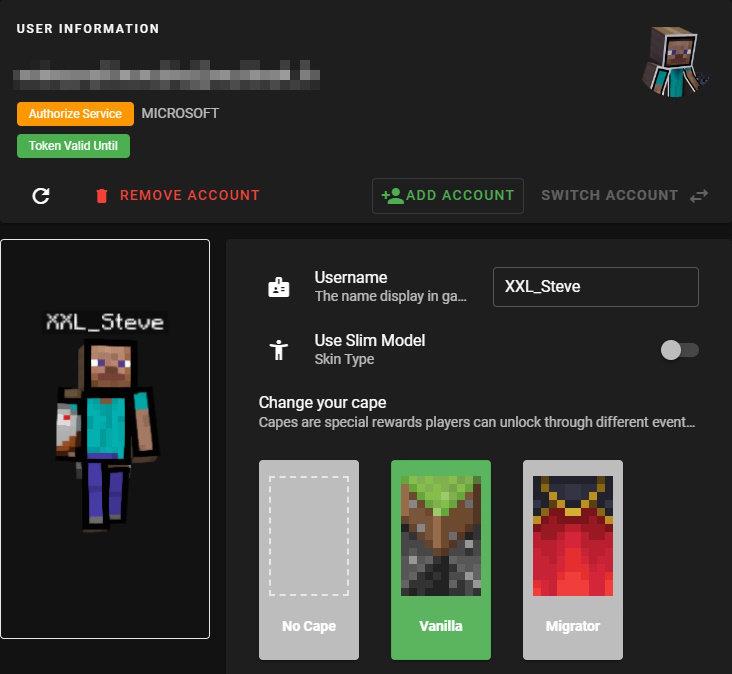
Premium account display
tip
Since update 0.34.0, XMCL removed the possibility to create offline accounts, as to keep being promoted and endorsed by Modrinth, the latter refusing to list programs against the Minecraft EULA. (Source)
It is however possible to create an offline account if you already registered a premium account.
Fortunately, there exists some ways to bypass the system 😎
Downgrade the software before the update
In that case, you’ll have to stay with this old version without the new features…
Download the version on github : https://github.com/Voxelum/x-minecraft-launcher/releases/tag/v0.33.1
⭐ Use a third-party authentification service
The launcher also lets you use other services than the official from Microsoft, including 2 by default: ely.by & littleskin.cn (which obviously are free)
For now, ely.by seems to work incorrectly, so I recommend you use littleskin.
- Create an account
- Validate the account via mail
- You’ll be able to connect in the launcher!
- If you like this service, you should check out its other features on the dashboard like uploading your skin (which can have a higher resolution than Minecraft’s), add more player accounts, etc.
Modify the launcher’s files
Don’t worry, it’s easier than it looks!
- Press Win + R then type
%appdata%and find the folderxmcl(if you don’t find anything, try:C:\Users\YourUser\AppData\Local\Packages\XMCL_[and a lot of digits]\LocalCache\Roaming\) - Open
user.json - In the brace
"users": {}add this:1 2 3 4 5 6 7 8 9 10 11 12 13 14 15 16 17 18 19 20 21 22 23 24 25 26"OFFLINE": { "id": "OFFLINE", "accessToken": "23ea4e959c2544ed85a2f2d2d1fa16fb", "selectedProfile": "aa930f3c5e4339dba04ad5c5c0e6f82c", "profiles": { "aa930f3c5e4339dba04ad5c5c0e6f82c": { "name": "Your in-game name", "id": "aa930f3c5e4339dba04ad5c5c0e6f82c", "uploadable": [ "cape", "skin" ], "textures": { "SKIN": { "url": "", "metadata": { "model": "steve" } } } } }, "expiredAt": 8556839292003941, "authService": "offline", "username": "OFFLINE" }
If other objects are present in the brace, don’t forget to add a comma , in the end.
The "accessToken" can be a random string, it’s pretty much useless.
Ok, I admit, it can be pretty complicated if you don’t have any experience with JSON…
Install a XMCL fork
Currently a fork is in development by thesonofdevilhunter#3441 to reintegrate offline accounts. It will also add some more small features. It’s not done yet, but you can learn more in the “Cracked Readdition” post of the “feedback-and-idea” channel of the XMCL discord server.
I’ll update this article when it’s done.
All that remains to do is play Minecraft, and for that you must first create an instance.
If you don’t recognize the multi-instance system, basically each instance corresponds to a “Minecraft game” with its own settings, version, etc. This allows you to not always have to change the mods folder as is the case with the official launcher.
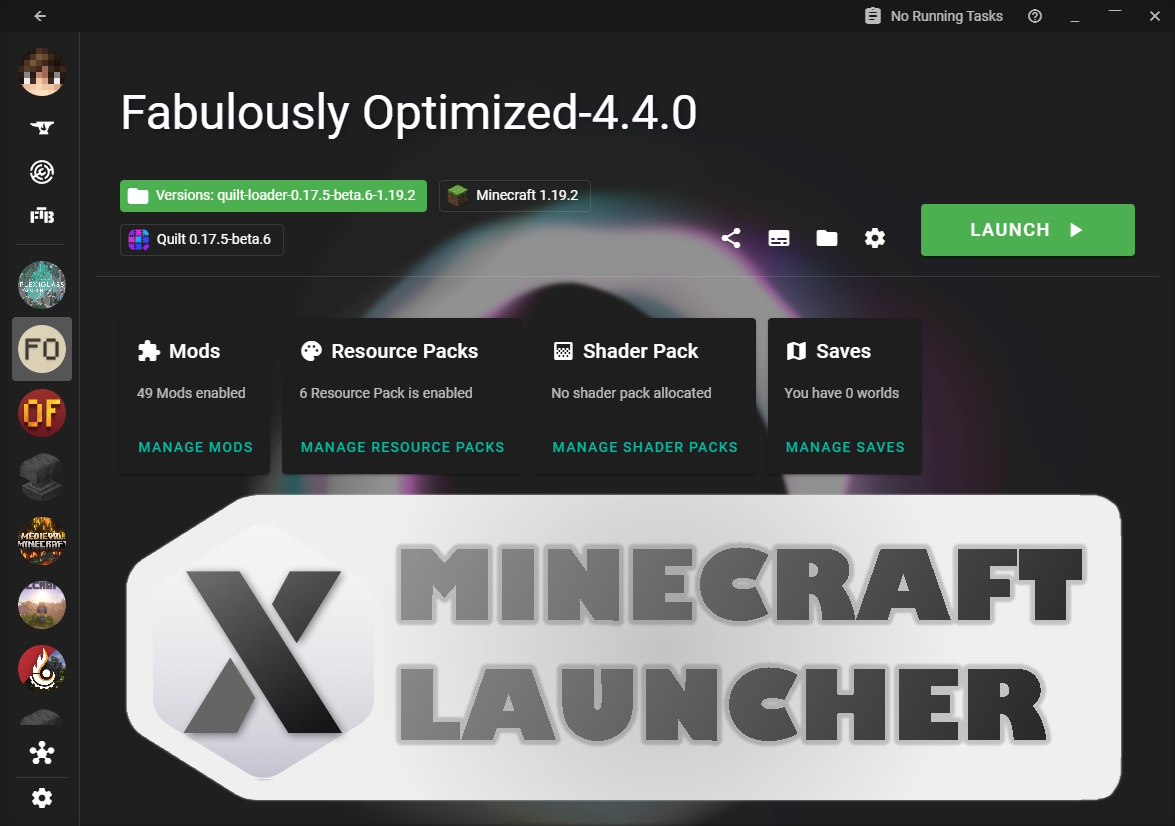
For example, if you want to play in 1.19.2 with the Fabric modpack “Fabulously Optimized”, press the “Modrinth” button, select “Modpacks”, then download the modpack in question. Everything else is handled by the app.
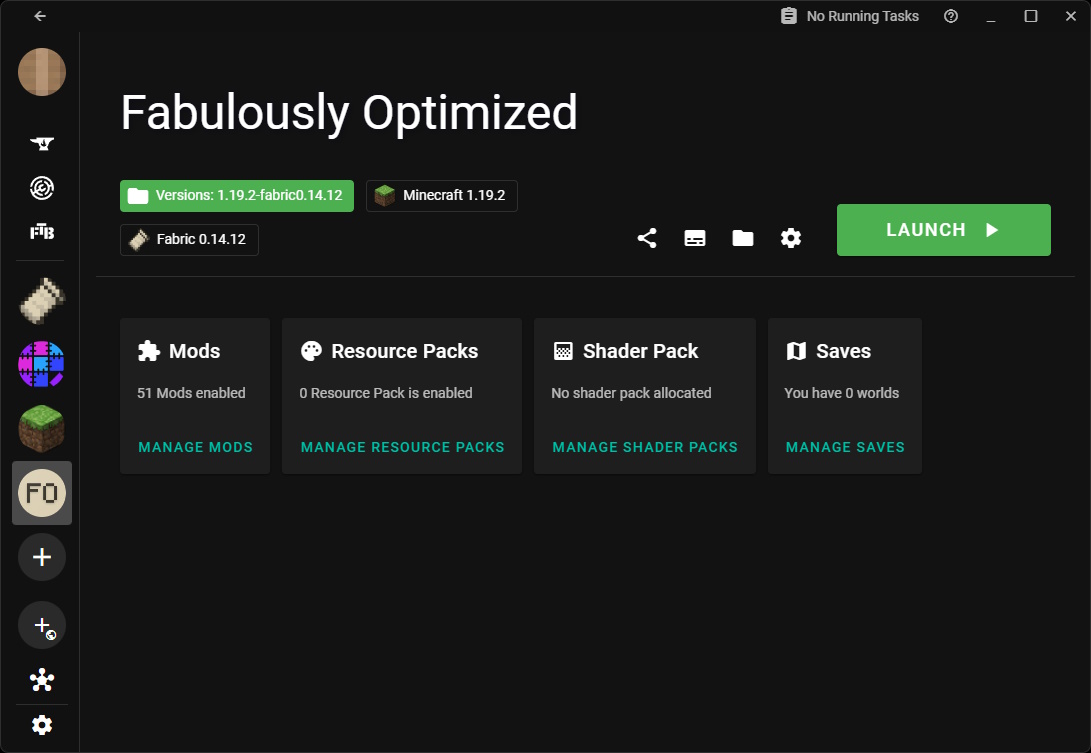
The newly created instance
If this is your first instance, you will probably need to download the corresponding Minecraft version. Fortunately, all this is automatically managed by the launcher.
It’s possible that you don’t have Java either, and in that case I believe that the launcher can also download it but I haven’t tested it, and I recommend installing Java yourself : tutorial on the Minecraft Wiki.
XMCL has other features like playing multiplayer with your own server and it also allows you to change themes etc, but I’ll let you explore all of that on your own.
As the app is Open Source, don’t hesitate to contribute: Github page
I hope this tutorial was helpful to you!