How to Install Filestash on Linux for Local Storage
Filestash is a frontend File Management service which provides an interface for modifying, uploading and downloading files for various web services, like Google Drive, Dropbox, or local storage.
Filestash in all its glory!
In this tutorial you will learn how to install Filestash on an Ubuntu server to manage your local files.
We will be using SFTP as the backend service because I couldn’t get the “Local” backend option to work…
| Category | Required |
|---|---|
| Hardware | At least 64MB of RAM and 1 core |
| System | Linux (Ubuntu in this tutorial) |
| Software | Docker, OpenSSH - usually is pre-installed, SFTP |
| Access | Root privileges - user root or with sudo |
If docker isn’t installed on your system, you can use this official guide from Docker docs.
Check if docker is installed
docker -v
docker compose version
Guide inspired by: https://linuxconfig.org/how-to-setup-sftp-server-on-ubuntu-20-04-focal-fossa-linux
First, you’ll need to change the configuration of SSHD. Open it using nano for example:
$ sudo nano /etc/ssh/sshd_config
And add the following config at the end of the file:
| |
Now, save and exit the file (Ctrl + X ; Ctrl + Y ; Enter on Nano).
tip
With this code, users in the sftp group only have permission to access their home directories via SFTP, and are denied any shell/command access.
Now, restart the SSH service:
$ sudo systemctl restart ssh
First, create the group called sftp: the SFTP user will belong to it, to restrain its permissions.
$ sudo addgroup sftp
Now, create the user that will serve as SFTP connection for filestash. Name it however you want, I chose myfiles.
$ sudo useradd -m myfiles -g sftp
Notice that I added it to the group sftp.
Add a password for the user:
$ sudo passwd myfiles
New password:
Retype new password:
passwd: password updated successfully
Creating the user automatically generated the directory /home/myfiles/, which is where all filestash files will be stored. Make sure to only allow access to it by the user and therefore deny access by anyone else:
$ sudo chmod 700 /home/myfiles/
Here you go, the SFTP setup part is done!
Filestash will be using the newly created SFTP user to connect to your system’s files using the SFTP protocol.
tip
To test the SFTP connection, you can establish a connection by opening a terminal and typing:
$ sftp myfiles@127.0.0.1
And replacing the local placeholder IP with the system’s IP if necessary.
Official guide: https://www.filestash.app/docs/install-and-upgrade/
It’s finally time to install Filestash!
Don’t worry, you just need 3 commands:
~/$ mkdir filestash && cd filestash
~/filestash$ curl -O https://downloads.filestash.app/latest/docker-compose.yml
% Total    % Received % Xferd  Average Speed   Time    Time     Time  Current
Dload  Upload   Total   Spent    Left  Speed
100   322  100   322    0     0     98      0  0:00:03  0:00:03 --:--:--    98
And to launch an instance:
~/filestash$ docker-compose up -d
tip
Useful docker commands:
docker logs filestash # show logs
docker ps # running docker containers
With the instance launched, you can open your browser and type the system’s IP followed by the default filestash port which is 8334:
http://your_ip:8334

Enter the admin password you want to use to protect the admin console. The admin console is available at /admin.
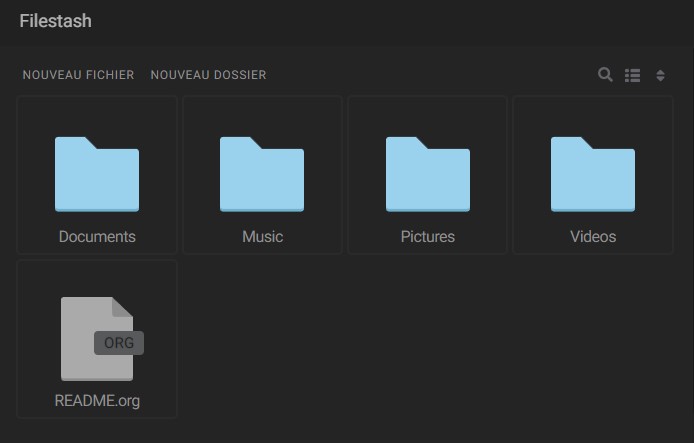
Filestash web structure:
/admin - Access admin interface
/files - Access files
/login - Access login
These are basic configuration steps to get the service setup.
Put your domain name under Configure > General. example: files.xxlsteve.net/your_ip:port
You probably don’t need the API so disable it.
If watching videos doesn’t work, disable Transcoding under video options.
tip
It is still possible to use Filestash without a domain. You will connect with the URL: http://your_ip:port
Now configure the webserver for it to link a URL to filestash. NGINX will be used in the examples.
Please note that linking filestash with a URL in root like: example.com/filestash currently doesn’t work (see issue #625). It either has to be linked to the domain itself: example.com or to a subdomain: filestash.example.com.
Filestash is strict with the request headers, so be sure to use the following properties in your NGINX configuration file.
Example for filestash subdomain using TLS/SSL from Let’s Encrypt:
Generate a new set of 2048 bit DH parameters:
openssl dhparam -out /etc/letsencrypt/live/filestash.example.com/dh2048.pem -outform PEM -2 2048
Config:
| |
Make sure to replace filestash.example.com with your own subdomain.
Go back to the admin console: url/admin and to the “Dashboard” tab.
Now it is time to choose the backend option, or in other words where the files will be stored.
Filestash supports a lot of services like Google Drive, Dropbox, AWS S3, and local.
Delete the already-enabled backends if necessary, and then add SFTP.
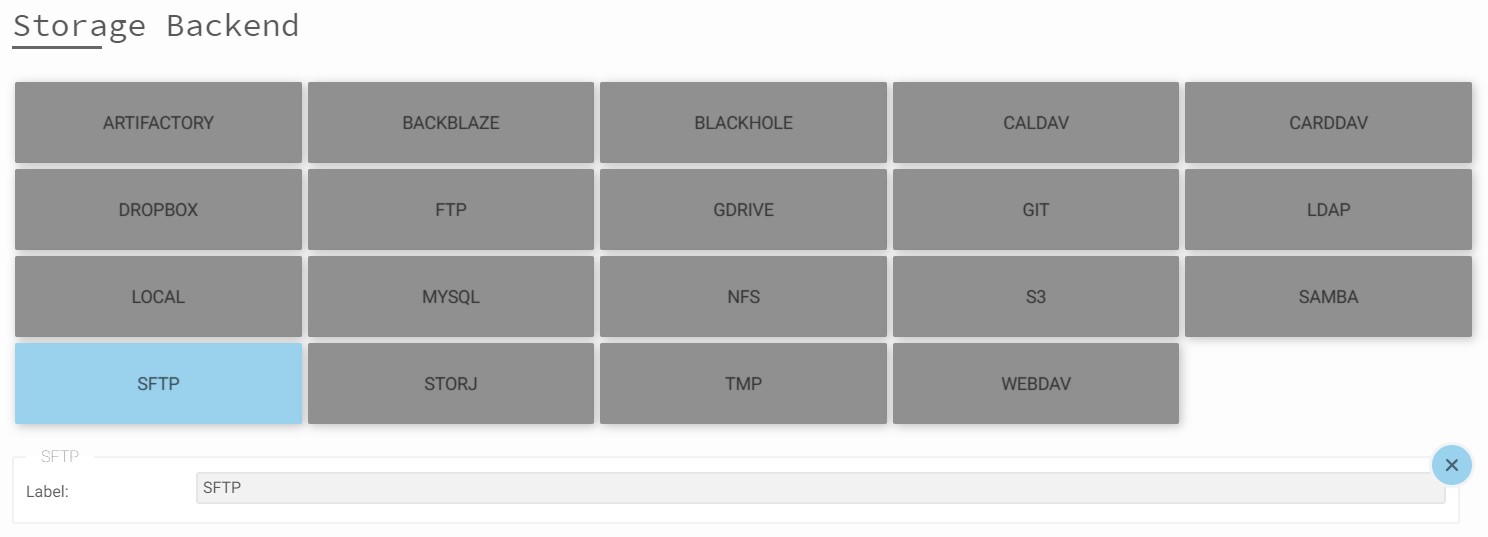
Storage Backend selected: SFTP
Scroll to the bottom and now choose the middleware. It is the intermediary service that allows to access to your file system, basically the login system.
I use the passthrough method. You can choose either connection with a username and a password, with just a password, or without any authentification.
Fill in the information:
- Related Backend: you will be using
SFTP - Hostname: put your IP address
- Username: if you selected ‘password-only’, put the username of your SFTP user:
myfiles, and if you want the user to type it in; put{{ .user }} - Password: if you want automatic authentification, type the password for the sftp user, otherwise put:
{{ .password }} - Path: put
/myfiles/to place the user directly into the correct directory
You can leave the other inputs blank.

Passthrough configuration example
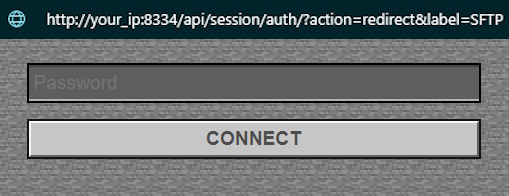
Now, going to the default URL you made should show a login page for SFTP.
Yes, you can add custom CSS in the admin settings!
And you should be succesfully entered into your file system!
I hope this tutorial was helpful 🙂